Drain All Life Rot Tree Upgrades Explained
Reach, spread, and crits—what to buy early, what to stack mid-game, and how the tree feeds clear speed.
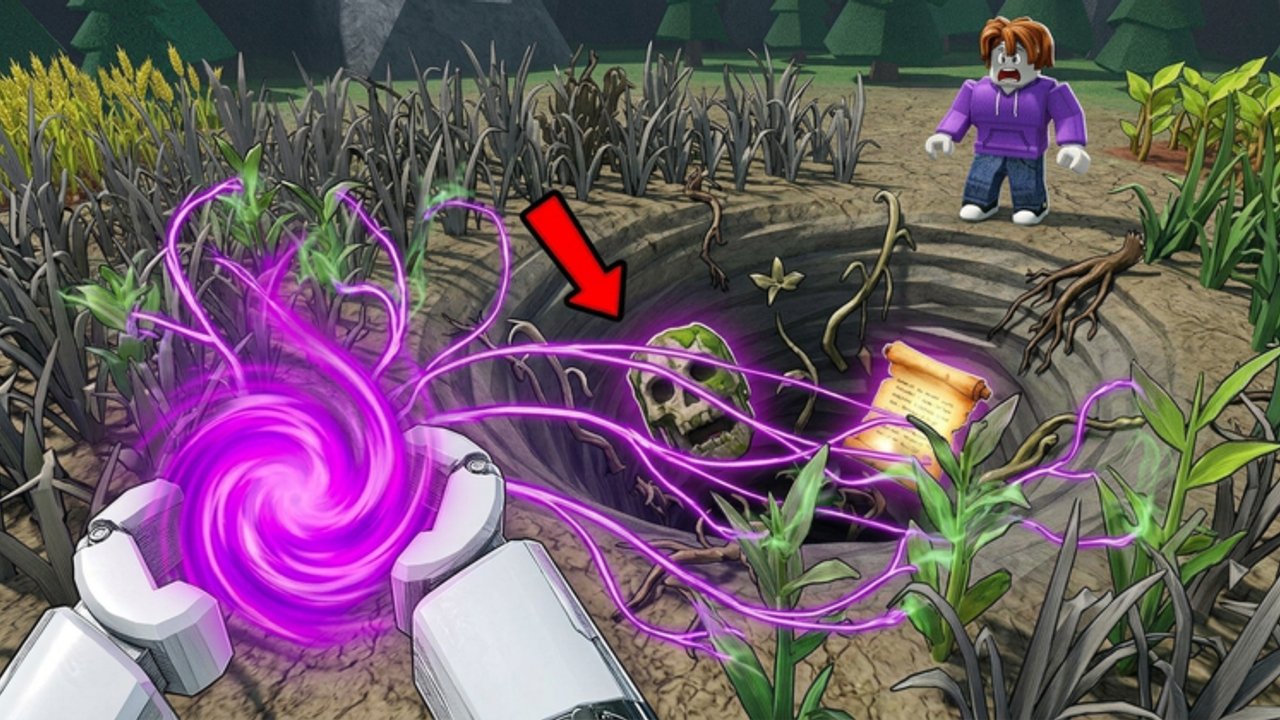
The Rot Tree is the permanent growth spine of Drain All Life. Life from withered plants funds tree nodes that change how every touch behaves: how far you hit (reach), how rot propagates (spread), and how often lucky spikes pay out (crits). Powers, Spore Storms, and Blood Moon multiply whatever the tree already gives you. A weak tree wastes those multipliers; a strong tree turns a quiet field into a conveyor belt of Life.
This guide digs into each branch, recommends early and mid upgrade order, and explains how the tree feeds field clear speed before Last Bloom fights. Pair it with Getting Started if you are brand new, and with the Tier List plus Rot Powers when you decide what to unlock next.
Reach: more plants per step
Reach widens the area your touch can affect. Early fields feel cramped when you must walk onto every plant. Extra reach lets you skim dense rows and still register hits, which raises plants-per-minute without changing your movement skill.
Buy reach first whenever:
- You are still on small or medium fields.
- You notice untouched plants just outside your path.
- Co-op partners are clearing cores while you patrol edges—wider reach lets one player cover more perimeter.
Reach has diminishing returns once you already cover the densest clusters in a single pass. At that point, spread and crits usually buy more Life than another pure radius tick.
Spread: rot that keeps working after you leave
Spread improves how rot continues through neighboring plants after contact. Strong spread means you do not have to babysit every tile; patches finish themselves while you move to the next dense zone.
Spread shines when:
- Fields are large and walking back over the same strip costs minutes.
- You use Spore Storms or area powers—spread multiplies those bursts.
- You play shared saving fields with friends and want residual clear while someone else fights a Bloom.
Under-invested spread is why some players feel “busy but broke.” They touch constantly, yet half the field regenerates attention demand. Fix spread before blaming the Life economy.
Crits: spike income on a stable base
Crits (lucky critical hits) convert a portion of touches into outsized Life. Crits are exciting, but they need volume. If reach and spread are low, you simply do not generate enough hits for crits to matter.
Invest in crits when:
- You already clear steadily without leaving huge golden pockets.
- Blood Moon is approaching and you want each doubled hit to spike harder.
- You are pushing toward Prestige thresholds and need bursty Life banks.
Treat crits as a multiplier on a working engine, not as the engine itself.
Early upgrade order (first sessions)
- Reach until your natural walking path covers dense plant lines.
- Spread until cleared patches stay cleared without constant revisits.
- Crits in small purchases once the field no longer feels sticky.
- Return to reach or spread whenever a new field size exposes a weakness.
Do not zero out your Life wallet on one node. Leave enough Life for the next Rot Power unlock and for a Blood Moon shopping queue. Redeem codes early so Spore Storms and Life Bloom time amplify the tree instead of replacing it.
Mid-game upgrade order
Once you clear multiple fields and have at least one power:
- Keep reach high enough for the largest active field you farm.
- Push spread hard before boss nights—Last Bloom arenas punish players who still micro every plant.
- Layer crits before Blood Moon and before Prestige pushes so x2 and Ash goals resolve faster.
- Rebalance after each new field: if edges stay golden, buy reach; if cores leave trails, buy spread; if clears feel smooth but Life is slow, buy crits.
Mid-game is also when the Tier List matters. Some power + tree combinations clear faster than raw tree spam. Alternate Life between tree nodes and the next power instead of maxing one system in isolation.
How the tree feeds field clear speed
Clear speed is plants drained per minute, not pretty animations. The Rot Tree raises that rate three ways:
- Contact efficiency (reach): fewer steps per plant.
- Residual clear (spread): work continues while you relocate.
- Value per contact (crits): each successful hit is worth more Life on average.
Together they shorten the time to a drained field, which means more Last Bloom attempts, more Rot Wheel value relative to playtime, and faster Prestige into Ash. Blood Moon’s x2 Life for 20 minutes is strongest when the tree already maximizes contacts during that window—see Blood Moon for prep that queues tree buys before 8:05 PM EDT.
Co-op and the Rot Tree
On shared fields (up to eight players), specialization helps. One player can stack reach for edge patrol while another leans spread for core collapse. Crit-focused players should still keep minimum reach/spread so they are not dead weight between lucky rolls. Agree on a tree priority in chat so nobody dumps the shared Life economy into vanity nodes. More co-op habits live under Players.
Common Rot Tree mistakes
- Crits first: flashy, slow. Fix reach and spread.
- Ignoring new field size: a tree tuned for starter fields fails on larger maps—retune reach.
- Spending into the Blood Moon: buy before x2 so the buff multiplies a stronger baseline.
- Tree only, no powers: powers multiply tree stats; read Rot Powers.
- Never Prestiging: permanent Ash upgrades eventually outpace raw Life sinks—plan with Prestige and Ash.
Quick reference
| Branch | Main job | Buy when |
|---|---|---|
| Reach | Wider touches | Edges stay golden |
| Spread | Residual rot | Patches need babysitting |
| Crits | Life spikes | Clear is stable, need value |
Master the Rot Tree and every other system in Drain All Life gets cheaper. Come back to this page whenever a new field feels slow—the fix is usually one underfunded branch, not a total restart.
Frequently Asked Questions
Quick answers for Drain All Life players.
What is the best early Rot Tree upgrade?
Reach first for wider touches, then spread so patches finish without constant revisits. Add crits after the clear feels stable.
Why do crits feel weak early?
Crits need hit volume. Low reach and spread mean fewer contacts, so lucky spikes rarely fire. Fix the engine, then stack crits.
Should I max the Rot Tree before unlocking powers?
No. Alternate Life between tree nodes and Rot Powers. Powers multiply whatever reach, spread, and crits already provide.
How does the Rot Tree help during Blood Moon?
x2 Life multiplies every successful contact. Enter the 20-minute window with fresh reach/spread/crit buys already purchased.
Does co-op change tree priorities?
Slightly. Teams can specialize—reach on edges, spread on cores—but everyone needs a minimum of both. Coordinate on the Players hub habits.